Every great design begins with a clear vision. Before colors, fonts, or layouts are finalized, designers need a tool to visualize ideas and set the project’s tone. That tool is the mood board—a simple yet powerful way to gather inspiration, organize concepts, and communicate a design direction to clients or collaborators.
Mood boards serve as a creative foundation, bridging abstract ideas and tangible design elements. Mastering this first step ensures smoother workflows, fewer revisions, and a stronger alignment between your vision and the final outcome.
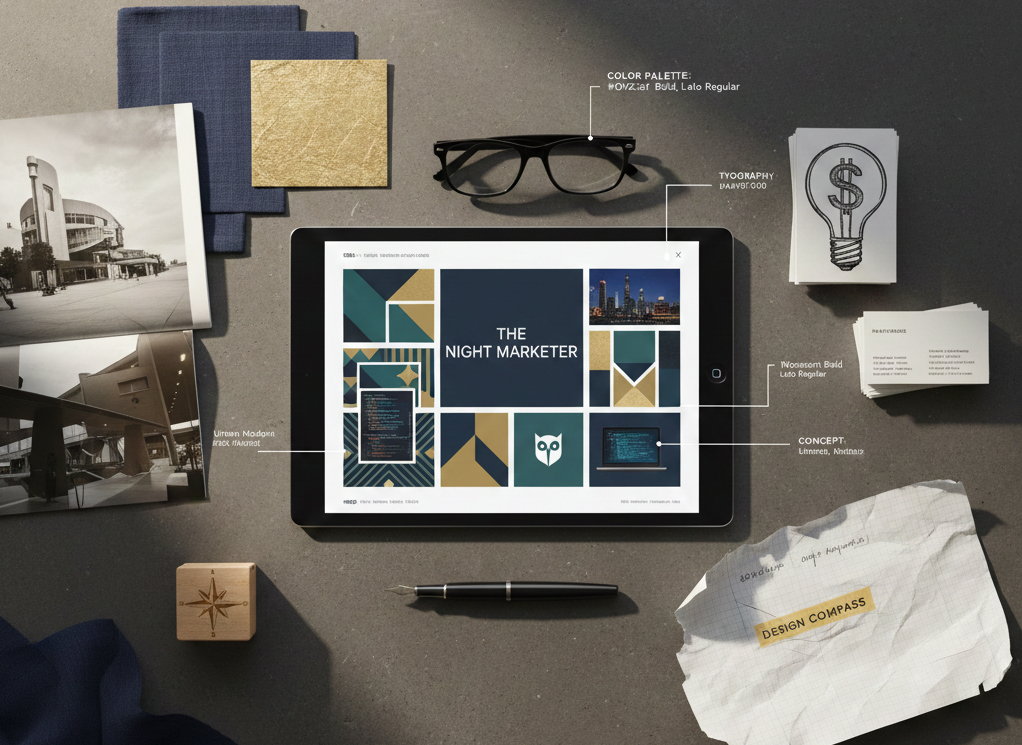
A mood board is more than a collage of images. It’s a strategic visual guide that captures colors, textures, typography, patterns, and imagery to convey the essence of a project. Its purpose is to align everyone involved—from designers to clients—on the style, mood, and direction of a design.
Mood boards are invaluable because they:
Designers can explore The Night Marketer for resources and inspiration to create effective mood boards.
Mood boards can take several forms depending on the project type and workflow:
1. Physical Mood Boards
The traditional approach involves using magazines, fabric swatches, paint samples, and photographs. Handling materials physically often sparks unique ideas that digital tools might miss.
2. Digital Mood Boards
Platforms like Canva, Milanote, or Photoshop make it easy to collect, organize, and share images online. Digital boards are ideal for remote collaboration and fast iteration.
3. Hybrid Mood Boards
Combining physical and digital elements—such as photographing a physical collage and enhancing it digitally—offers the best of both worlds, keeping tactile inspiration while allowing easy sharing.
For guidance on mood board techniques, visit The Night Marketer.
Step 1: Define Your Objective
Before gathering materials, ask yourself:
A clear objective ensures the mood board remains focused and meaningful.
Step 2: Collect Inspiration
Gather ideas from diverse sources:
Step 3: Curate and Refine
Not everything belongs on the final board. Ask:
Curation ensures the board remains cohesive and professional.
Step 4: Organize Your Layout
Arrange items with attention to:
Step 5: Annotate and Explain
Include brief notes or captions to describe choices, such as font names, color codes, or material references. These annotations make your mood board actionable for team members or clients.
Step 6: Review and Iterate
Step back and evaluate:
Refinement ensures the mood board effectively guides the design process.
Even experienced designers can make mistakes. Avoid these common issues:
Mood boards are more than preliminary tools—they are essential frameworks for clarity, inspiration, and collaboration in any design project. By mastering mood boarding, designers can translate abstract ideas into cohesive visuals, align with clients effectively, and maintain a consistent style throughout the project.
Whether using traditional physical boards, digital platforms, or hybrid methods, dedicating time to create thoughtful mood boards sets the stage for successful, impactful designs.
For ongoing guidance and inspiration, visit The Night Marketer.